
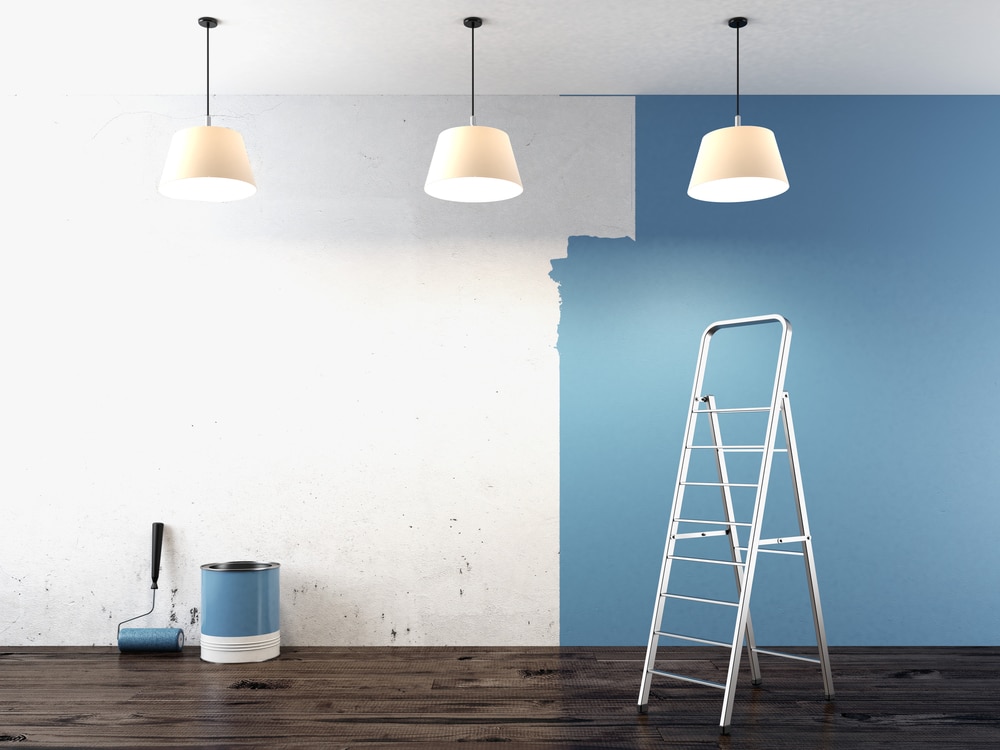
Painting is one of the most cost-effective ways to update a room. However, there are a few tasks that you need to perform before you start painting. The walls and ceilings need to be prepared, cracks need to be patched, and peeling paint needs scraping.
If you want to ensure that your next paint project looks like it was completed by a professional, use these simple tips for preparing your interior walls for painting.
Remove Everything from the Walls
The first step is to begin clearing out the room, the walls, and ceiling. Remove as much furniture as possible, along with any wall décor or paintings. Remove any screws or hooks from the walls. You should also remove the wall registers and electrical outlet faceplates.
If you cannot remove all your furniture from the room, arrange everything together in one spot. Move chairs and couches near each other and cover them with one or more tarps or drop cloths.
Thoroughly Wash the Walls
Before painting, you need to clean the walls to remove dust, cobwebs, stains, and debris that can easily get trapped under your new coat of paint. This step is especially important for smokers. The yellowish stains from tobacco smoke need to be scrubbed away before painting.
Use a towel or duster to dust the walls and ceiling. Next, use a damp rag or sponge with a mixture of water and dish soap to wipe down the walls. Allow the walls to thoroughly dry before applying any paint.
Cleaning your walls also gives you a chance to inspect the surface for any noticeable signs of damage.
Patch Holes or Cracks in the Walls
Any damage that you find should be patched using a spackling compound. Look for holes, dents, cracks, and chips that may still be visible after painting.
The spackling compound is easy to apply. Use a putty knife to fill the hole or crack, and then use the edge of the knife to remove any excess compound.
Scrape and Sand the Surfaces
After patching any holes or cracks in the walls, use a paint scraper to scrape away flakes from peeling or chipped paint. You can then use a fine-grit sandpaper to sand the surface of the areas that you patched and scraped. These areas should be flush with the wall, to provide a smooth surface for your new coat of paint.
Protect the Flooring and Edges
You may want to shield your flooring from paint splatter. Spread drop cloths on the floor, and secure them with tape around the floorboards or edges of the floor.
You should also protect door frames, window frames, trim, and molding with painter’s tape. If you are worried about making a mess, you may also use plastic drop cloths to cover windows, doors, and other structures.
With everything covered and the walls cleaned, patched, and sanded, you are ready to paint. As a final tip, you should paint one wall at a time, allowing each coat to dry before painting the next wall. This helps ensure that the walls blend together.
FAQ
1. Why is it important to prepare interior walls before painting?
Proper wall preparation ensures that paint adheres smoothly and lasts longer. It helps to avoid issues like peeling, uneven surfaces, and visible imperfections, resulting in a professional-looking finish.
2. What steps should I take to clean my walls before painting?
Start by dusting and wiping down the walls with a damp cloth to remove dirt and grease. For stubborn stains or kitchen walls, use mild soap and water. Make sure the surface is completely dry before moving on to the next step.
3. How do I repair cracks or holes in the walls?
Fill small holes and cracks with spackling paste or wall filler. Once dry, sand the area until smooth and flush with the wall. For larger holes, you may need a patch kit. Always remove loose or flaking paint before repairing.
4. Should I use primer before painting interior walls?
Applying a primer is highly recommended, especially on new drywall, patched areas, or when changing from a dark to a light color. Primer helps paint adhere better and creates a uniform surface for the topcoat.
5. How can I protect floors and trim during wall preparation and painting?
Use drop cloths or plastic sheeting to cover floors and furniture. Apply painter’s tape along trim, windows, and door frames to prevent accidental paint splatters and ensure clean, sharp edges.

Ray is an inspiring leader with a strong work ethic stemming from his exemplary upbringing in a caring and loving family environment. His parents modeled the importance of integrity and hard work to him and his siblings, values which Ray now instills in his teenage daughter. As the owner of Aspen Painting & Wallcovering, Inc., he leads by example by expecting nothing but the best from himself and his employees. His primary goal is to provide superior service and quality craftsmanship to each of his clients so that they become enthusiastic ambassadors for the company. Ray is a passionate team player who always strives to exceed expectations.