
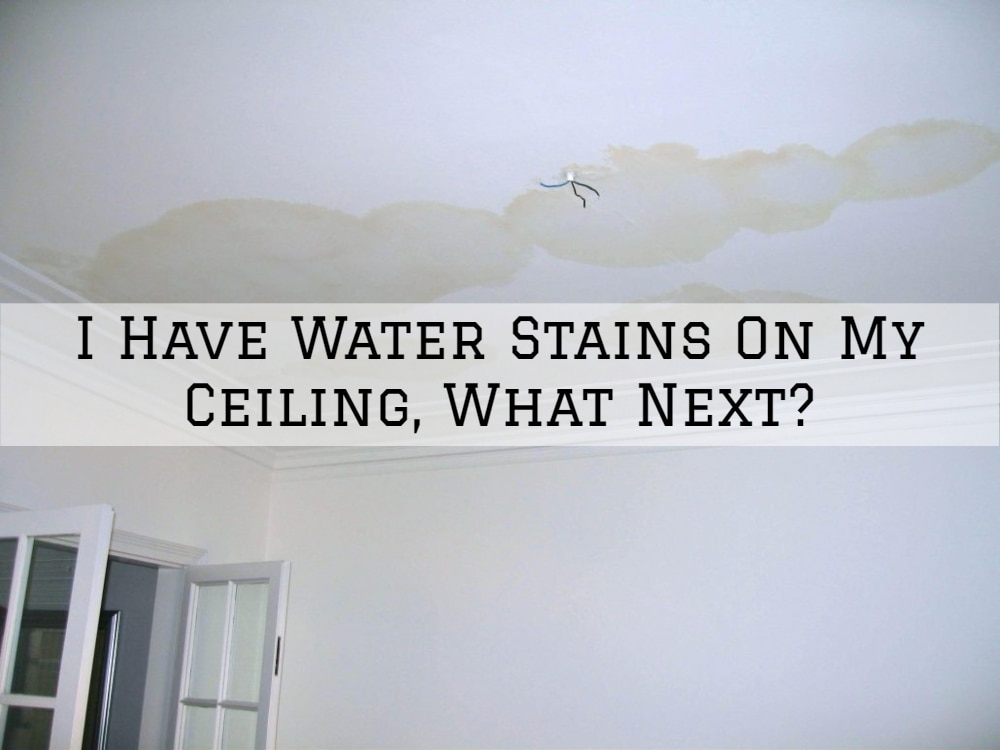
Many homeowners can’t stand the sign of a light brown water stain on a white ceiling, for a good reason –it waters down all the efforts invested into a beautiful interior wall paint job and décor. Even a milky white or cream water stain on a stack white ceiling can quickly throw things off balance.
In essence, a water stain on the ceiling is usually a by-product of a roof, heating appliance, or plumbing leak that seeped through the ceiling and evaporated, leaving you with an unsightly patch of dried, discolored mineral deposits. When addressing a ceiling with water stain, or any water stain for that matter, it’s important not to cover up the stain until you identify its cause.
If you have a water stain on your ceiling, don’t panic –we have some DIY tips to help you address the problem. However, please note that depending on the cause and extent of the damage, you might need professional assistance to fully resolve the issue, otherwise, here are the tips:
- Identify The Cause And Repair It.
Finding out the root cause should be your first priority when dealing with a water stain of any kind. Common causes include the roof, the upstairs bathroom, the upstairs radiator, and plumbing. Find and repair crumbling shingles, weakened seals around roof vents, or anything causing the roof to leak.
If the roof is not the issue, find out if the radiator’s body, pipe, valve, or bleed point is leaking. Search out for clogged sinks or shower drains, and plumbing too. If you cannot fix some of the issues on your own, you might want to call a professional plumber, roofer, or HVAC expert. - Clean The Stain With Bleach.
Once the cause of the leakage and stain has been resolved, it’s time to handle the stain head-on. If the stain hasn’t caused rotting, crumbling or another form of extensive damage to the ceiling, you can start by cleaning the stained area of the ceiling with a mild homemade bleach solvent to fade the stain and remove any dirt, dust, mildew or grease.
Lay drop cloths on the surface, set up a ladder, wear protective clothing and gloves and wipe down the ceiling with a sponge dipped in the bleach solution (1-part of bleach + 3-parts of water). Rinse the bleach solution off the ceiling with water from a spray bottle and let the ceiling dry. - Apply a Stain-Blocking Primer
An oil-based, mold-resistant, stain-blocking primer in a shade matching your ceiling color will help block off the stain from showing through the paint. Unlike latex paint, these stain-blocking primer is insoluble in water and contain a high volume of binders which helps it to effectively block the stain and adhere to the ceiling surface. The best way to apply a primer is by using a roller and an extension pole. Allow the primer to dry as recommended on the label before applying paint. - Apply A Ceiling Paint
Use ceiling-specific paint, which could either be water-based or oil-based to paint the area that you just primed. Always use high-quality paint, which is typically thicker than traditional wall paint and preferably in a non-reflective finish to help hide small blemishes. Choose a paint that matches your current ceiling paint and apply it using a roller. For effective covering, apply two coats. If the water stain patch covers a significantly large area of your ceiling, it might make sense to repaint the entire room’s ceiling.
The Bottom Line
Professional-grade painting using a quality primer and paint after resolving water leakage should be enough to restore the flawless look your ceiling had. If you need professional help repainting your ceiling or home’s interior, Aspen Painting can help.
We offer professional residential painting services in areas of Horsham, Ambler, Dresher, Ft. Washington, and Blue Bell. Simply call us today on 215-773-8422 for a FREE estimate to get started.

Ray is an inspiring leader with a strong work ethic stemming from his exemplary upbringing in a caring and loving family environment. His parents modeled the importance of integrity and hard work to him and his siblings, values which Ray now instills in his teenage daughter. As the owner of Aspen Painting & Wallcovering, Inc., he leads by example by expecting nothing but the best from himself and his employees. His primary goal is to provide superior service and quality craftsmanship to each of his clients so that they become enthusiastic ambassadors for the company. Ray is a passionate team player who always strives to exceed expectations.